
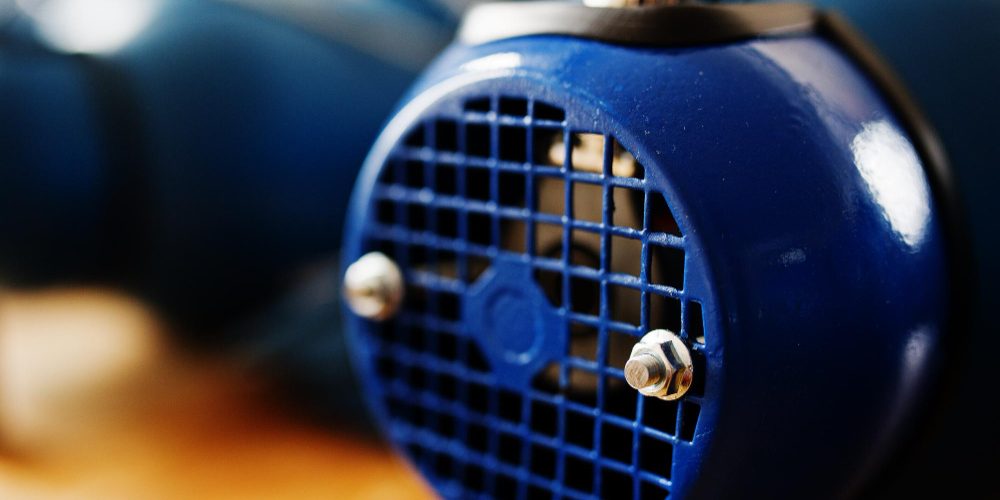
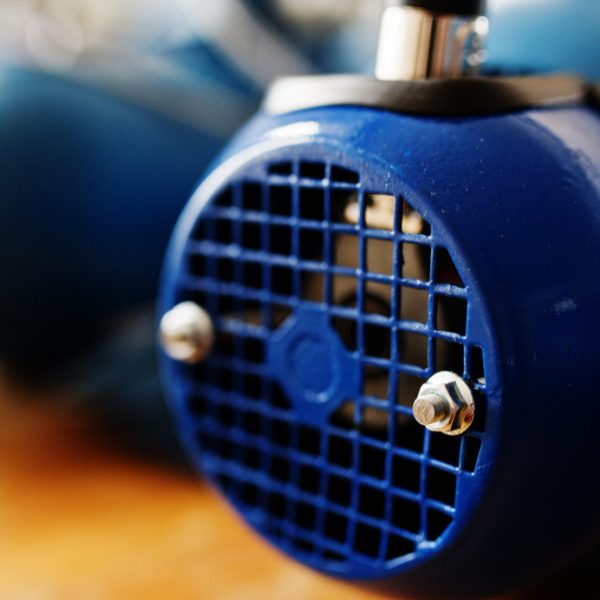
Air compressor service maintenance helps ensure production runs on schedule, so productivity doesn’t slow down due to unscheduled production delays. Preventive maintenance costs tend to be relatively affordable and help minimise production times being extended due to slowdowns.
Regularly check oil and other lubricants according to your manual. A quick way of checking for air leaks is by sprinkling soapy water around the compressor while it is running; bubbles will appear wherever there are leaks.
Check the oil level.
Maintaining your compressor’s lubrication levels is vital; without it, it could overheat and require expensive repairs. Mineral or synthetic, air compressor service mention they require constant supplies of oil in order to keep pistons and screws moving smoothly; how much oil you require depends on both the make and model of the compressor; your owner’s manual can provide details regarding optimal amounts for your specific model; and it is advisable to inspect oil levels at every startup and shutdown of the system.
If you own a direct-drive compressor, the oil cap of its crankcase features a dipstick with which you can access and see its level easily. Many larger models also include a sight glass to assist in viewing its contents more clearly. Before opening these areas of the compressor or site glass for inspection, make sure that it has been turned off first; otherwise, the vibration and shaking could cause the oil to spill all over and cover both you and any nearby hands with oil splatter.
Low oil levels can not only lead to overheating but can also lead to foaming that contaminates new compressor engine oil, renders it unusable, and invalidates any applicable warranties. Therefore, it’s vital that oil levels are checked when the compressor is cold and under stable conditions.
If the oil level in your air compressor drops below the first mark on its sight glass (the first mark represents the full mark before startup) or has been running for an extended period, adding some may be beneficial. Be mindful to only add as much as necessary to attain the minimum oil level in sight glass when the compressor is in cold and stable conditions.
If you don’t feel confident doing it yourself, consult a service technician to check and adjust the oil level as necessary. A simple check can save money on repairs while prolonging its lifespan; doing this regularly will ensure your compressor continues running efficiently for years. Keep in mind that running out of oil could ultimately be fatal!
Check the pressure.
Air compressors may experience pressure issues in numerous ways, from failing to start up properly to excessively slow pressure build-up or insufficient output when used. Another potential issue could be too rapid a drop when they cease operations; in some instances, this could be the result of a nonfunctional pressure release valve, but other reasons could include dirty or damaged air filters, blown cylinder head gaskets, or using oil of an inappropriate viscosity.
To test the pressure of an air compressor, first make sure that its power has been disconnected, and then remove the rear section of the belt guard. Locate and loosen any motor mounting bolts before taking further steps, such as taking out the motor pulley belt to examine for wear, tears, or cuts, before replacing them with new ones.
An excessively worn belt could indicate that either the motor pulley needs realignment with the compressor flywheel or is experiencing wear from its crankshaft, keyway, or pulley bore; in some cases, it could also be caused by nicking in the belt groove of either the pulley or flywheel.
If the air tank doesn’t reach maximum pressure, this could indicate leakage within its system or be the result of an ailing pressure switch or unloader/check valve. To test for pressure on an air compressor, you will need a multimeter. Connect the red pin of the multimeter to terminal C, the black pin to R, and use the continuity setting; read the result with a result of 30 ohms or lower.
Regular maintenance on air compressors is critical to preventing mechanical problems from arising and saving on repair bills. Conducting these inspections on a daily, weekly, monthly, or quarterly schedule will allow you to catch any potential problems before they get out of hand.
Check the temperature.
Air compressors consume large amounts of oil, and when operating at high temperatures, this fluid burns more rapidly. Therefore, regular checks on oil levels and viscosity must be conducted in order to meet operation demands and stay healthy. In addition, air filters must also be regularly inspected to make sure nothing obstructs hot air from venting properly through them and that nothing prevents hot air from venting properly; otherwise, high ambient temperatures could accelerate oxidation processes, further accelerating oil’s deterioration rate.
Temperature sensors or switches provide a relatively simple method for keeping tabs on the operating conditions of an air compressor. These devices can be programmed to detect specific temperatures, log changes, and notify controllers when certain thresholds have been reached, prompting them to either shut off their machine, sound an alarm, or activate lighting, depending on the device type.
An infrared thermometer provides another method for quickly reading temperatures. These devices are an effective way to monitor different areas of an air compressor, such as its evaporator superheat, suction line superheat, compression, motor, and discharge gas temperatures. Over time, a baseline will be established, which makes spotting deviations easier.
One key thing to keep in mind when operating a compressor is that any increase in its operating temperature could cause serious issues. If your compressor seems to use more oil than usual or its operating temperature has skyrocketed, now may be the time to call in professional help.
Air compressors often include automatic shutdown systems to protect against damage when temperature thresholds are reached, including bearing temperatures, motor winding temperatures, lube oil pressures, and gas discharge temperature measurements. While this standard package includes some temperature measurements (e.g., valve temperature monitoring), others might not.
Check the cooling system.
Compressors work by pulling air from the atmosphere and pressurising it at higher pressures through a rotating cylinder, with piston movement between its chambers creating frictional heat that increases the temperature and pressure of compressed air, necessitating an effective cooling system to be in place.
A cooling system is a set of pipes designed to circulate coolant throughout an engine’s engine block and other parts, keeping them from overheating. Coolant travels through pipes connected to radiators, fans, fan clutches, belt drives, water pumps, gaskets, engine block and head gaskets, thermostats, and hoses in order to be effectively distributed throughout.
Leaks in the system may cause engine coolant to escape at an increased rate and disrupt compression cooling cycles, forcing compression cycles to slow or stop altogether. Home inspectors should look out for signs of coolant leakage such as rust spots or orange, green, or white streaks (or “trails”) on the underside of compressors; leakage may also manifest itself through pressure drops in cooling gauges.
ToolPRO radiator pressure test kits enable inspectors to easily inspect for cooling system leaks using a simple pressure test, measuring coolant pressure at various PSI levels. They can be used after flushing and refilling or any time a suspected leak has been identified. Furthermore, each kit also comes equipped with a vacuum test, which may detect issues in the hoses and gaskets of the cooling system; some pressure caps will pass the pressure test but fail the vacuum test; therefore, performing both tests is recommended to detect problems more effectively.

Liam Carter is a fitness writer passionate about promoting active lifestyles and sustainable training habits. He specializes in creating content on workout routines, injury prevention, and strategies to help people re-engage with fitness at any level.